ZimaBoard the Next-Gen Home Server
An overview of the next generation of home server boards: the ZimaBoard by IceWhale Technology
Super excited to finally be able to share this with you all! Thirteen months ago the IceWhale team launched the ZimaBoard sbc (single board computer) on Kickstarter. The project was an instant hit and was completely funded within 10 minutes of their launch! Their success shows that the world is ready for the next generation of sbc’s tailored for the home server use.
With that they then had the challenge of producing and delivering the ZimaBoard despite the massive chip shortages. The time has finally come! They have just shipped the first 250 boards and the engineering samples which I will be sharing about.
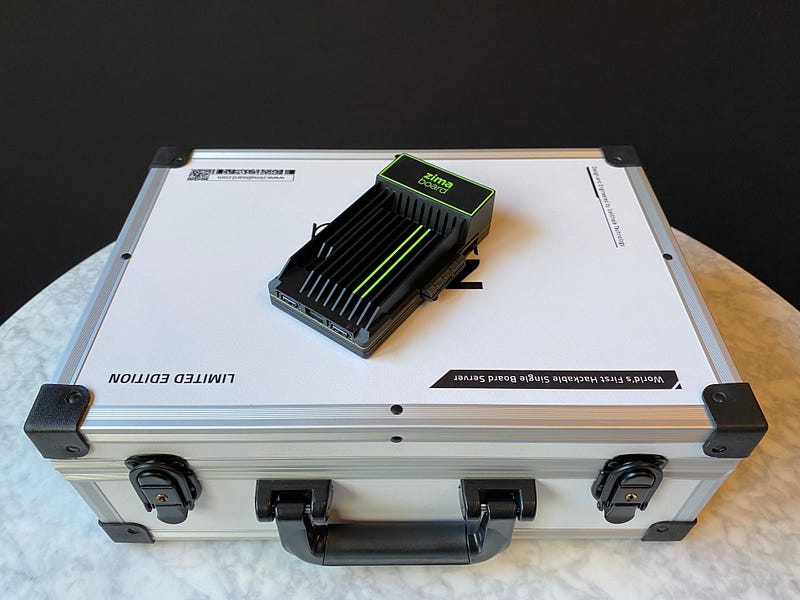
Unboxing
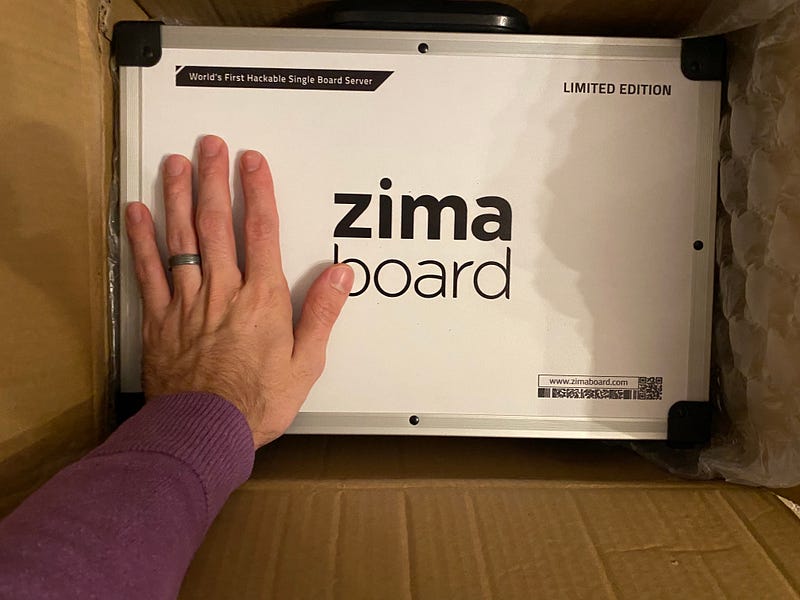
When I received this in the mail I was super surprised. To be clear this is not my pledge. This is an engineering sample for showing the world the ZimaBoard and demonstrating how to use it. The case shows a clear attention to detail which you will notice in every aspect of the project. IceWhale made several changes to the product along the way as result of feedback they received through Kickstarter.
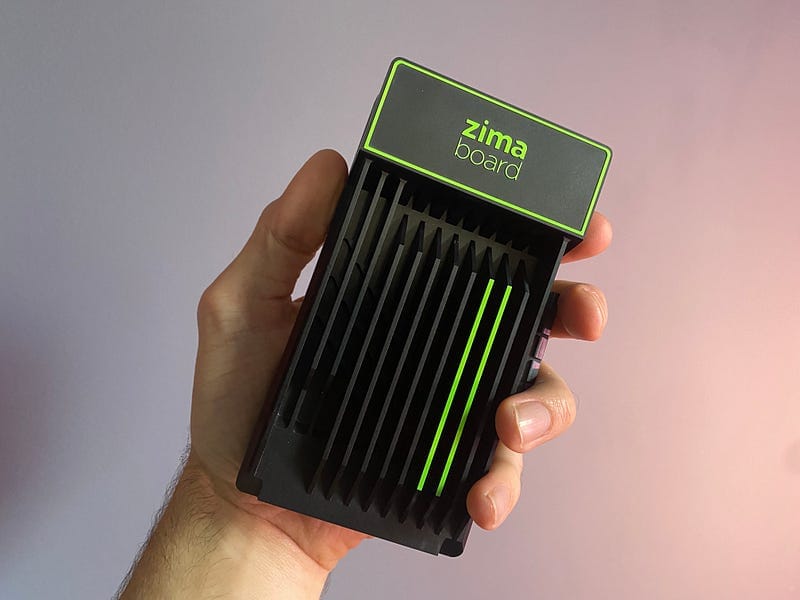
The ZimaBoard fills a large gap in the single board computer market. It is providing a solid foundation for people to build home servers on without breaking the bank. Many people have been using Raspberry Pi’s for this however they have limited or no support for many of the devices home server users need.
Front IO

On the front (from left to right) are the following connectors. Mini DisplayPort 1.2 serves as the output format for the board. This output supports 4k 60hz. You will need to get an adapter if you don’t already have a mini display port cable but they are fairly common.
Next, on the board are two Gigabit Ethernet ports that are powered by a Realtek NIC. They were trying to get Intel NIC’s but weren’t able to secure the supply in time for the release of the board. Having two Ethernet ports allows you to use the ZimaBoard as a router, firewall, or other network appliance.
Underneath the Ethernet ports are two USB 3.0 connectors. Nothing special to talk about there. Then finally, on the very right there is a barrel jack for power delivery. The power supply that ships with the Kickstarter kit is 12 volts/3 amps. You may be able to get by with a smaller power supply if you are not planning to use PCIe cards or SATA drives.
PCIe
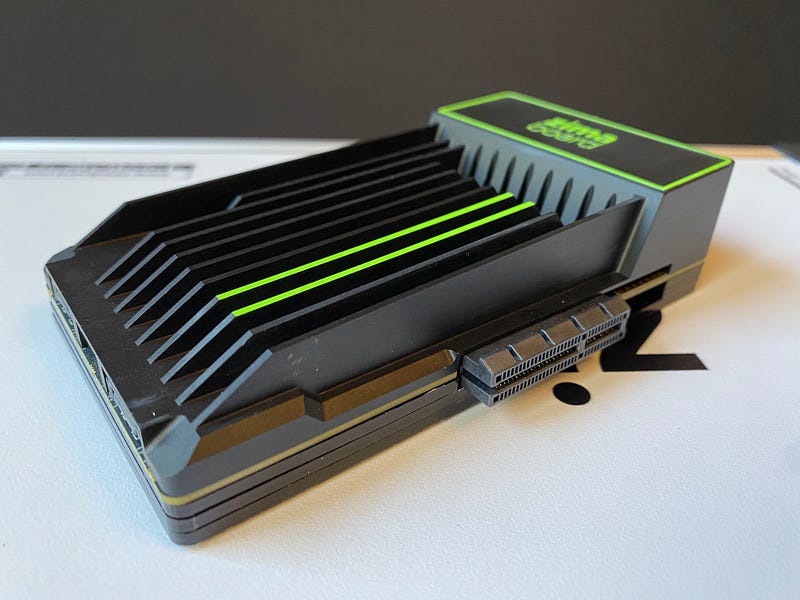
Speaking of PCIe cards here is a good shot of the port. It’s a PCIe 2.0 x 4 lane slot. This means that it supports up to 2GB/s of data transfer. One great thing about the PCIe slot is the end is open so it can support full length cards. Just note that they will operate at a lesser capacity.
One other thing that is just barely pictured here (right above the PCIe slot) is a cutout with support for standard motherboard headers. This includes drive status lights, power on/off, reset, board status lights, 5V lines, etc.
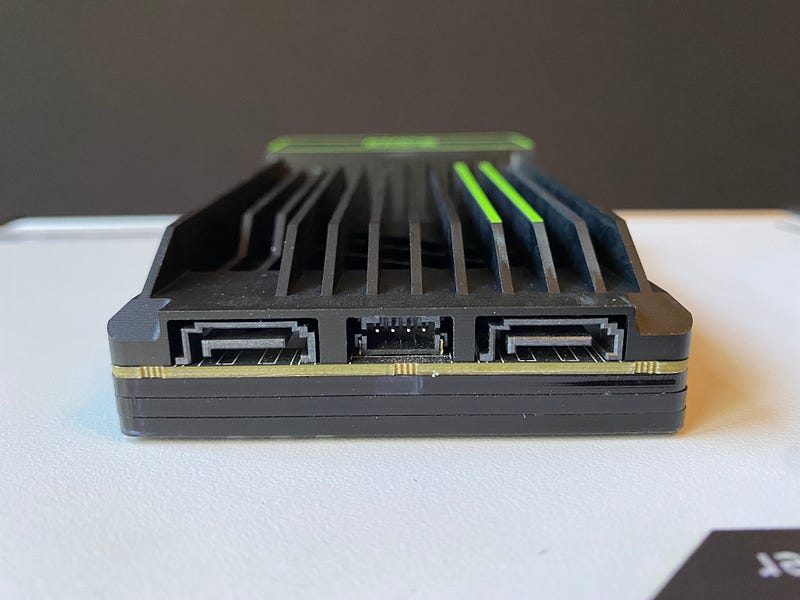
Finally, onto the rear IO. On the back are 2 SATA 6 Gbps ports with a power connector between them. The connector on the back supplies enough power for most 2.5" drives. They do recommend using an external power supply if you want to use 3.5" drives.
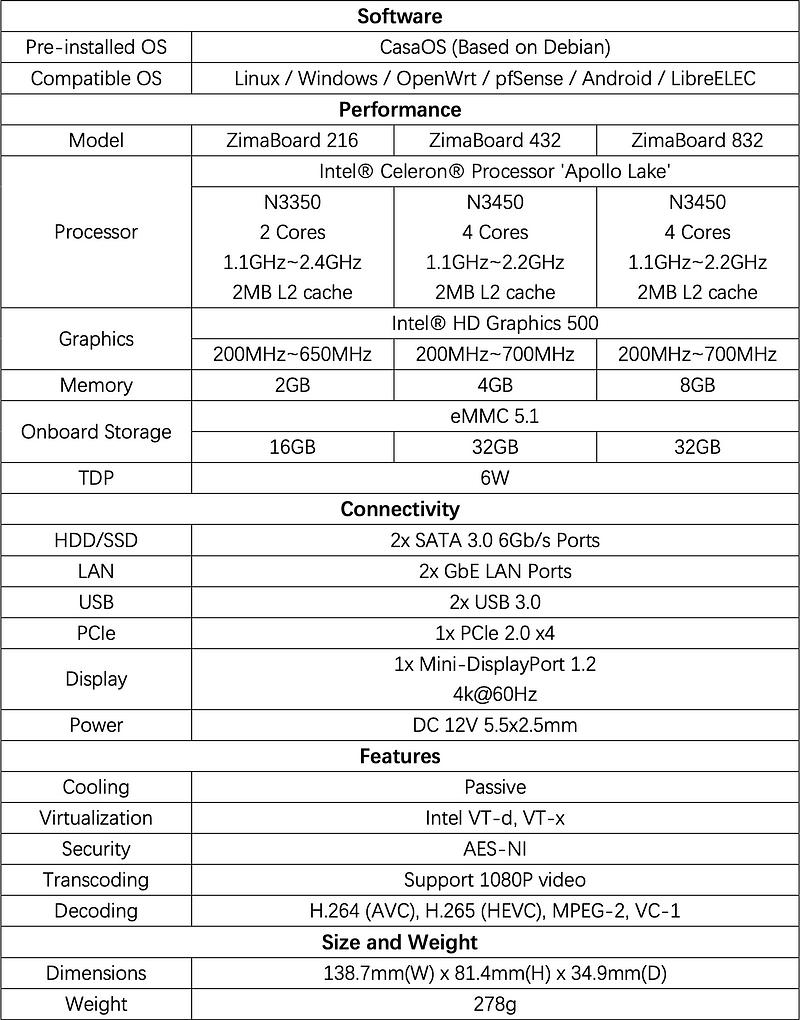
Now onto what can’t be seen! There are 3 different models of the ZimaBoard all with slightly different specs. The N3350 has 2 cores and the N3450 has 4 cores. Both of them support VT-x and VT-d which is great news for anyone trying to virtualize on the board. Along with that they support hardware acceleration for AES-NI 4k Transcoding and h.265/h.264 encoding and decoding. For more complete specs check the matrix below and the docs site.
One of my favorite things about this board is: it isn’t ARM. It may sound silly, but it is so frustrating to be blocked from installing some software because the CPU architecture isn’t supported.
The Extra Bits and Bobs
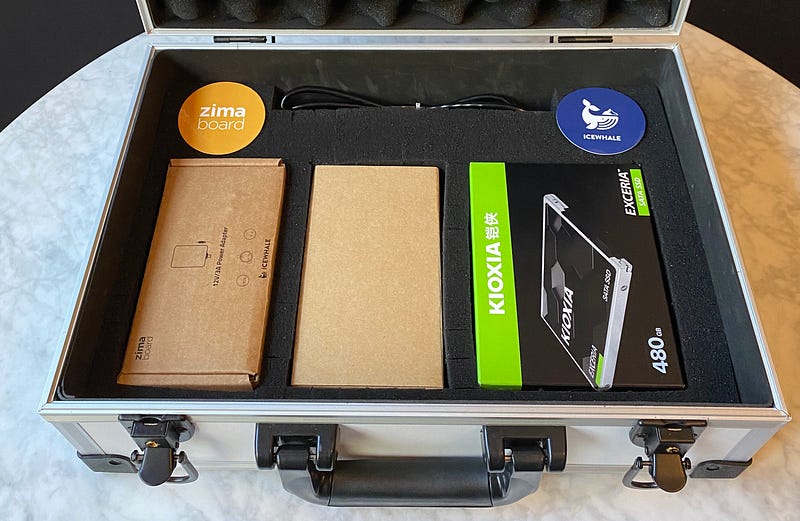
Now for the extra bits and bobs that came with the board. Starting from least interesting to most. They included a Mini Display port to HDMI cable, an Ethernet cable, and a power supply (with several international plug adapters). That is also a good note for anyone buying a board off of the website. You will need to buy a power supply as it isn’t included at the moment.
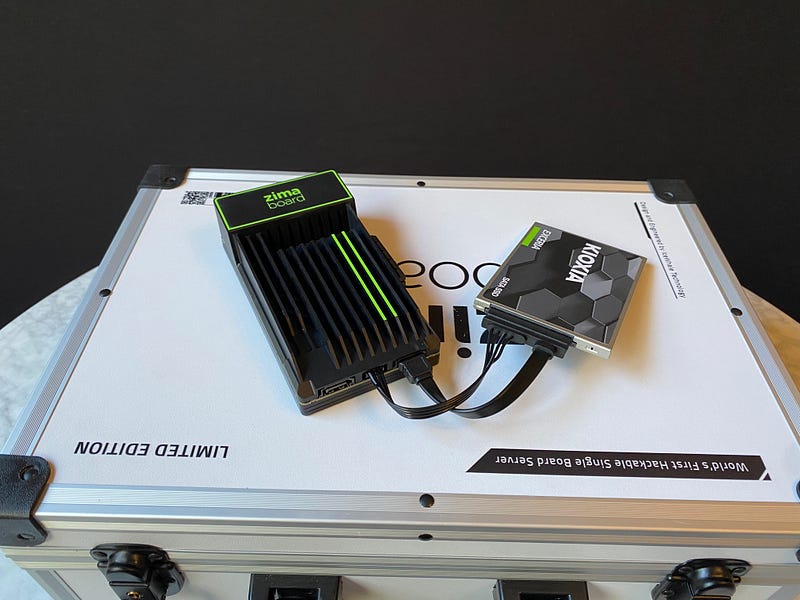
Next, from the magic box there is a Kioxia 480 GB SSD and connector for the board. A good point here is if you want to use the onboard power adapter you need to get the correct cable from their site.
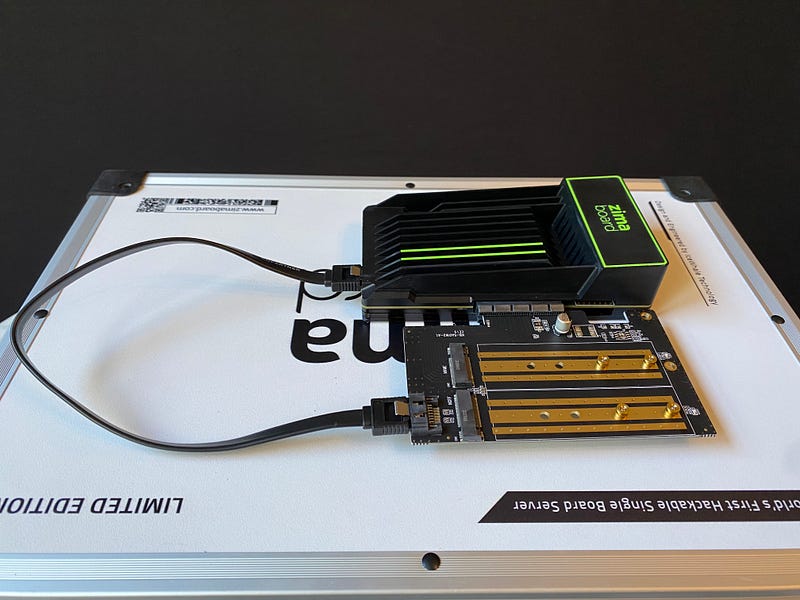
Finally, there is the M.2 adapter board. This board is particularly interesting because it has a ‘M’ keyed NVMe slot that is connected to the board over the PCIe connector. With this most NVMe drives will likely be bottlenecked as the maximum that NVMe could theoretically support 32GB/s but PCIe 2.0 with 4 lanes can at max do 2GB/s. The other interesting bit about this is the second slot supports ‘B’ keyed NGFF drives. The data here is transferred to the board over the SATA interface which is limited to 750 MB/s (6 Gbps).
That pretty much wraps up my experience with the ZimaBoard so far. While this is far from an exhaustive overview there will be much more content to come. If you have any questions please check out their Discord or reach out on Twitter. Also, if you would like to watch more content about the ZimaBoard check out my YouTube video!