Rate Limiting Using IP Address in Bubble.io
Limit the number of times someone accesses your content before needing to sign in
Just recently I’ve started working with creating pages on Bubble.io but there was one thing I found very frustrating. I wanted to limit the number of times a non-subscriber could view our content within a month. This turned out to be a very frustrating endeavor but none the less here is how I ended up going about it.
Data Model
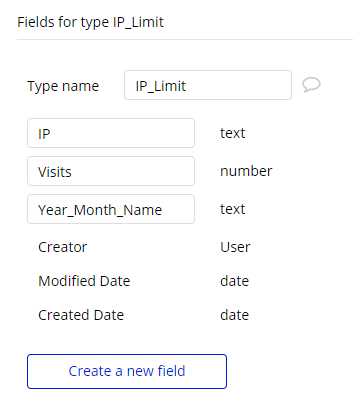
The data is as simple as can be. We will track the IP address, current month, and IP address of the user. Each time the user clicks on our video card we will iterate a counter for the month.
We create our table and are naming it IP_Limit:
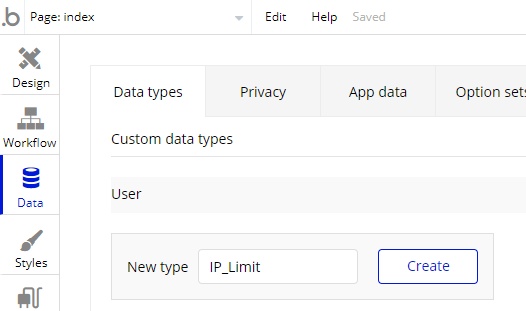
After we have done that we will add 3 different fields to the table.
Application Logic
When the page is loaded we will create a new thing
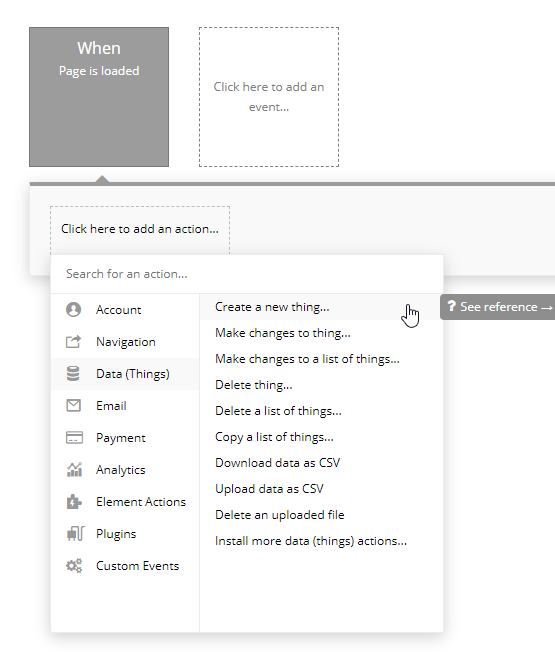
For our new thing we will want to get data from an external API to retrieve our IP address.
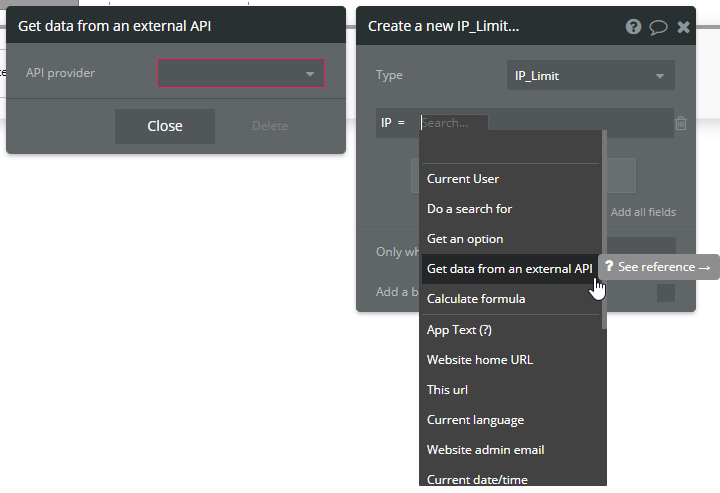
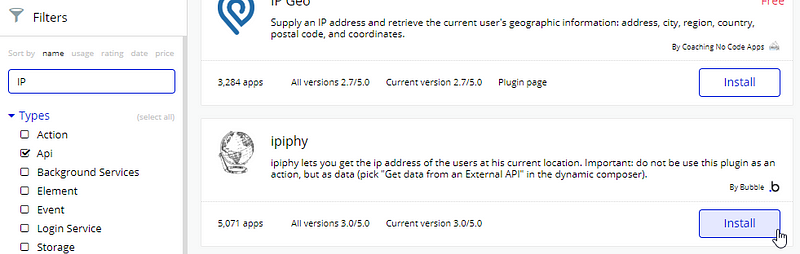
Here we will choose the ipiphy API. This will get the current IP address for a user.
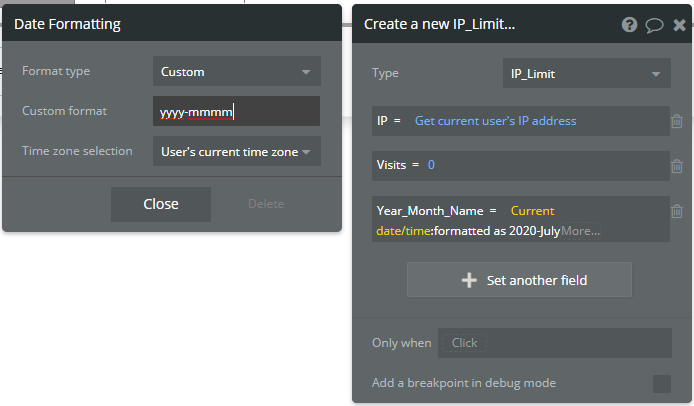
Next we will be setting the visits = 0 because this is the first time the script will run. Along with that we will be setting the year-month combo. You will do this with getting the current date/time and setting a custom formatting yyyy-mmmm
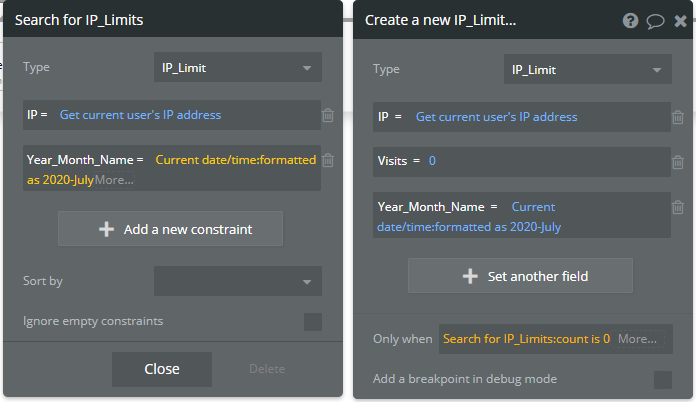
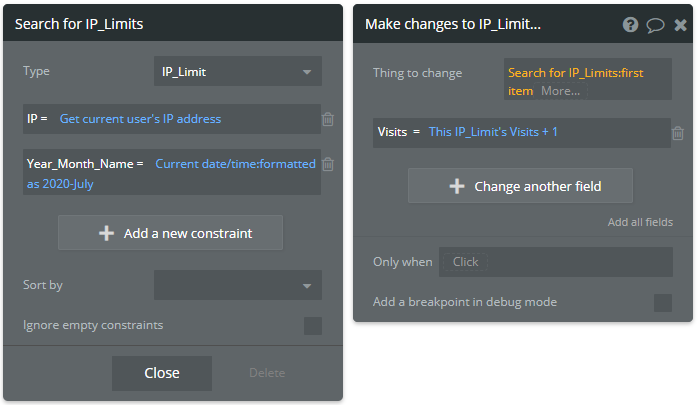
We want to make sure we only do this for the first time we see a user with this ip. Otherwise it would always get reset to 0. To do that we will set the only when. It will be only when an entry for the IP and Year_Month_Name doesn't already exist. This is seen below:
Next we need code to increment the Visits. After the first visit in a month the part of the workflow we just created will no longer show. To to this we will need code to “Make Changes To A Thing”. Here we will do a Search for IP_Limits just as we did in the previous step. The difference here is we only want the :first item property. Then we will simply set the visits = current visits + 1 as shown below.
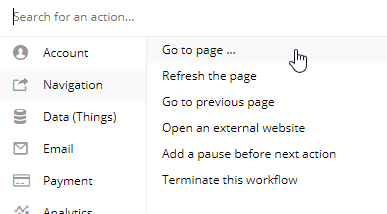
Final Action
When you have completed the above you are finally ready to limit your users. For us we will send the users to our login page. You can use this to limit many different types of actions though. In the startup I am working with we are using this to limit how many video views a user can do before needing to login.
Once we have the action decided on we will set our limit. In this case we are saying if the number of visits is more than three and the user isn’t logged in we will redirect them to our login page.

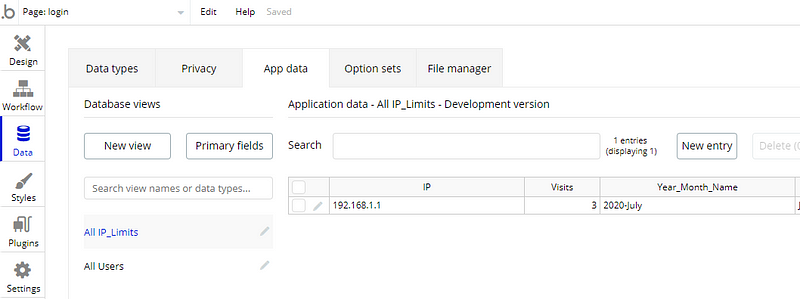
That is all! Now you can go to your Data tab -> App Data -> All IP_Limits and see how many times people are loading up your pages. This also works as a very rough metric for page views.
Now go have fun building your pages! Big credit to Aaron Cronin who lead the development on this project. Check him out on LinkedIn: