Develop Docker Remotely from your Mac like a Pro
Development is continuing to advance and how you develop should change as a result. Docker and Remote compute is the next big thing!
Development is continuing to advance and how you develop should change as a result. Often the things we are developing are becoming so large and complex that running them from our local machine is not practical. Worry not though, with this guide you can connect to a remote server for developing with docker containers.
In my case my development environment is an old dell R620 with 104 Gb of Ram and 16 cores. I architect systems that process logs for searching and visualizing. I’d rather not have my laptop setup 24/7 to consume those logs so being able to remotely develop on my home lab saves me a lot of time and energy.
Installing Ubuntu Server
First thing is to download the most recent Ubuntu Server image from their website to install on our remote machine. Select option 2 for manual install to download the image. Next you will want to follow their guide (linked below) for getting that installed. I won’t be covering that here because they have a good guide for it.

Getting Docker Installed
For getting docker installed I would recommend using the snap. It’s the easiest way in my opinion.
sudo snap install dockerAfter install installing the docker snap it’s important to also add your user to the docker group. This way you can run docker commands without being a sudo’er and allows us to remotely connect to the docker daemon.
sudo addgroup --system docker
sudo adduser $USER docker
newgrp docker
sudo snap disable docker
sudo snap enable docker
I would recommend editing /etc/sysctl.conf and adding the following line to the very end. Not all containers will need this set but if you do need it, figuring out that it’s missing can be tricky. It sets how much virtual memory your containers are allowed to request.sudo nano /etc/sysctl.conf# Add this line to the end
vm.max_map_count=262144
After doing that run the sudo sysctl —-system command will reload your shell with the configuration changes we made.
Configure SSH from your Mac
First step to getting ssh setup is generating an ssh key. The following command will let you do that.ssh-keygen
Save the key to /Users/<YourUsername>/.ssh/ubuntu_rsa
Hit enter through all the prompts to skip adding a password (unless you feel compelled to have a password for this). Then you will want to copy that key to the remote ubuntu server using the ssh-copy-id command.ssh-copy-id -i /Users/<YourUsername>/.ssh/ubuntu_rsa <ServerUsername>@<ServerIP>
Edit your ssh hosts file and add the following with the variables substituted for what they actually are.sudo nano /Users/<YourUsername>/.ssh/configHost ubuntu
HostName <ServerIP>
user <ServerUsername>
IdentityFile ~/.ssh/ubuntu_rsa
Here is what the entry looks like from the terminal.

Now you can ssh without needing to enter a password. Give it a go!ssh ubuntu
Remote Git Setup
Setting up git on your server is as simple as setting the global config options found below. I would recommend you first check if you have email privacy setup in GitHub. To check this you will go to your Account -> Settings from the top right corner of your account. Then navigate to Emails in the left bar and scroll down to the primary email address. If you see this in there copy that and use it as your email.

git config --global user.name "David Tippett"
git config --global user.email [email protected]
If you are feeling brave you can look into setting it up with SSH or GPG keys. I generally do that however to save time for this article I am not going to cover that.
Setup Visual Studio Code
For this section I am going to assume you have already installed VSCode. If you haven’t come back here once you finish installing it (install from here).
Next to install some extensions! Start in the little square in the bottom left that has a strange floating square coming out of it. We are going to search for and install Remote - SSH, and Docker.
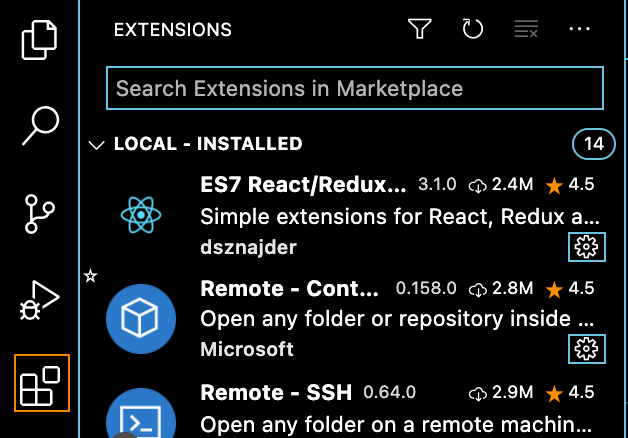
Once you install these you should see them in the left bar. Click on the remote ssh extension and… will you look at that! It already knows about your server! That is because it reads the /Users/<YourUsername>/.ssh/config file to pull out any server connections you have setup.
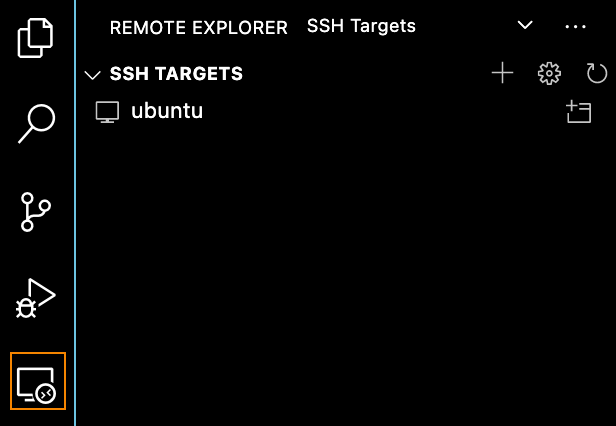
Clicking on that little window on the right hand side of the Ubuntu line opens a new window targeting the remote server. This includes everything from the the terminal to the file system is on the remote server.
Once you connect click Ctrl + Shift + ~ to open up a terminal to the remote server (or if you like menus it’s Terminal from the top bar and New Terminal). Now you can clone a repo to your server.git clone https://github.com/dtaivpp/enterprise-logging.git
Now from the top left of your VSCode under Start you can select open folder and it should show you options from your remote server. Pictured is my enterprise logging project folder. Select the one you want and select OK from the right.

Now comes the fun. You can now build and run docker containers on your remote server. For mine I drop into the terminal and type docker-compose up to start up my service. Now I can go into the docker extension and see what’s running, attach to containers, view networks, etc.
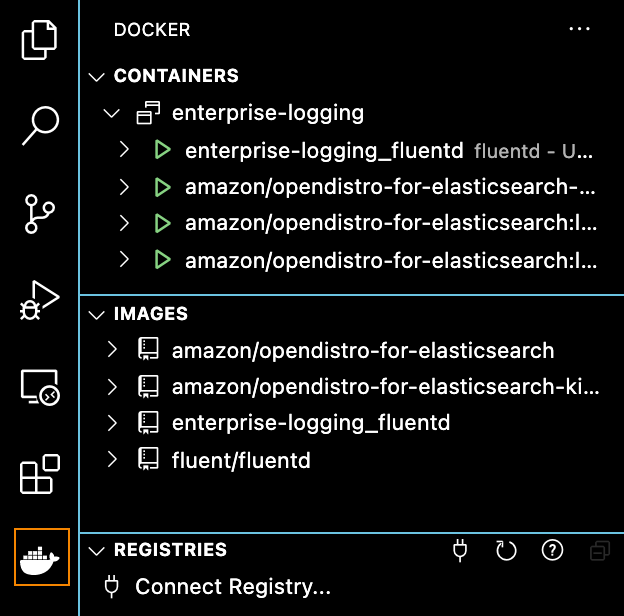
For the curious the sample repository I am using is one of the reasons I built out this guide. It creates 4 containers that do the following:
Fluentd container accepts netflow and syslogs and indexes them into the OpenDistro Elasticsearch nodes. From here they can be visualized in Kibana. It is useful to have these on a server that has real netflows and syslogs going into them for development. This is why it isn’t practical for me to develop on my laptop. With this setup I deploy to my server and then can test with real data from my lab environment.